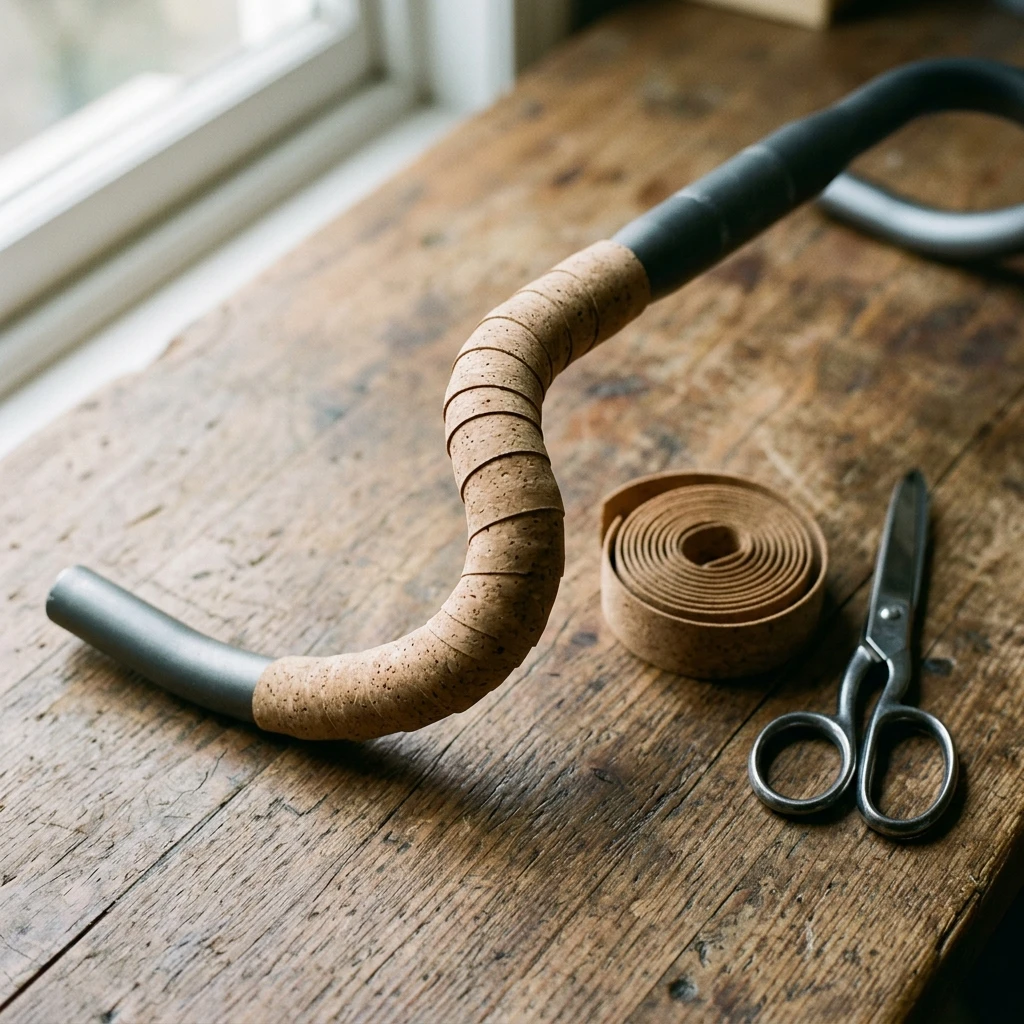
- A fresh roll of handlebar tape, with the two short bar-end pieces it usually ships with
- Sharp scissors or a utility knife
- A small amount of double-sided or electrical tape for securing cable housing
- A bar-holding stand or something to keep the bike steady, if you have one, though it isn't required
That's the full list. No torque wrench, no specialty tool, nothing you need to order and wait for.
Step 1: Remove the Old Tape
Pull back the brake hood covers to expose the lever bodies underneath. That's where the old tape's ends are usually tucked and secured. Unwind the tape starting from wherever it was finished, working backward toward the bar end, then pull out the bar-end plugs and discard the old tape.
Once it's off, clean the bare bar with isopropyl alcohol or a similar solvent. Skip this step and old adhesive residue from sticky-backed tape will show through as lumps under the new wrap.
Step 2: Prep Your Work Area
Secure any cable housing running along the bar with a thin strip of tape so it sits flat and doesn't shift while you wrap. Pre-cut your finishing tape (the short piece that secures the end of the wrap) to roughly 8 to 10 inches, and set it somewhere within reach. Decide in advance where on the bar you want the wrap to end; most riders finish just below the brake lever clamp on the drops.
Step 3: Wrap the Drops
Direction matters here, and it's not arbitrary: wrap clockwise on the right side of the bar and counter-clockwise on the left. Get it backwards and every time you grip the bar, you're loosening the tape instead of tightening it.
Start at the very end of the bar with the first wrap extending slightly past the tip, then make three or four wraps as you work inward before you reach the lever clamp. For adhesive-backed tape, overlap each wrap so the sticky side contacts bare bar rather than the previous layer of tape. For non-adhesive tape, overlap roughly half the width of the previous wrap. Keep even tension the whole way: a wrap that's tight in one spot and loose in the next will bunch up or gap.
Step 4: Handle the Lever Area
This is the part that trips people up. There are three common ways to get a clean wrap around the brake lever body. You can continue the wrap straight past the lever body, which leaves a small visible gap where the hood sits, the fastest option but not the cleanest looking. You can wrap over the inside of the lever body instead, which naturally reverses your wrap direction as you continue onto the tops; most factory wraps do it this way. Or you can fold a small offcut of tape over the lever's strap back and wrap around that, which gives full coverage with no gap at all.
Pick whichever gives you the cleanest result under the hood. It doesn't affect the tape's function, only the finish.
Step 5: Wrap the Tops
Above the levers, the direction typically reverses again to match the pulling motion your hands make when riding on the tops rather than the drops. Continue at the same tension and overlap you used on the drops until you reach your planned stopping point.
Step 6: Finish the Ends
At your intended stopping point, wrap two full turns past it, then mark the tape along your cut line. Back the tape off by those same two wraps and cut cleanly at an angle along the mark. Apply your pre-cut finishing tape in the same direction as the main wrap, going around two or three times, and end at the bottom of the bar where it's least visible.
Insert the bar-end plugs to lock the tape in place at the tips, and pull the hood covers back down over the levers. That's it. You're done.
Choosing a Replacement Material
If you're replacing tape anyway, it's worth a moment to think about whether the same material is still right for you. Cork is firm and traditional, with decent grip in wet weather, but it gives you the least vibration damping of the common options. EVA foam is softer and cuts down noticeably on road buzz, though it compresses faster than cork over time. Gel-core tape, a foam base under a thin outer layer, damps vibration best of the three and is worth a look if you spend a lot of time on rough tarmac, gravel, or chip seal.
There's no wrong answer here. Riders doing long days on rough roads tend to prefer gel-core or foam for the extra cushioning; riders who care more about feel and grip than plushness often stick with cork.
Why This Is Worth Tracking, Even Without a Sensor
Handlebar tape doesn't generate ride data the way a chain or a set of brake pads does. There's no distance signal that tells an app it's compressed, no activity count that correlates with grip loss. That's a real limitation, worth saying plainly rather than overstating what any tracking tool can do here.
What tape wear does share with every other maintenance item on your bike is that it's easy to lose track of. You replaced it sometime this year, or maybe last year, and without a note somewhere, "sometime" is about as precise as most riders get. The same is true of cables, housing, and grips: components with no sensor signal that still benefit from being on a schedule instead of left to memory.
That's the gap Componentry is built to close for the components it can measure automatically. Chain wear, cassette wear, brake pad life, and Di2 or AXS battery levels update from your Strava, Garmin, or Wahoo rides with no manual logging. For the handful of components without a distance signal, the same app gives you a place to log a service date and set a reminder, so "sometime last year" becomes an actual date you can check.
Further Reading
Related Componentry Articles:
Technical Reference: