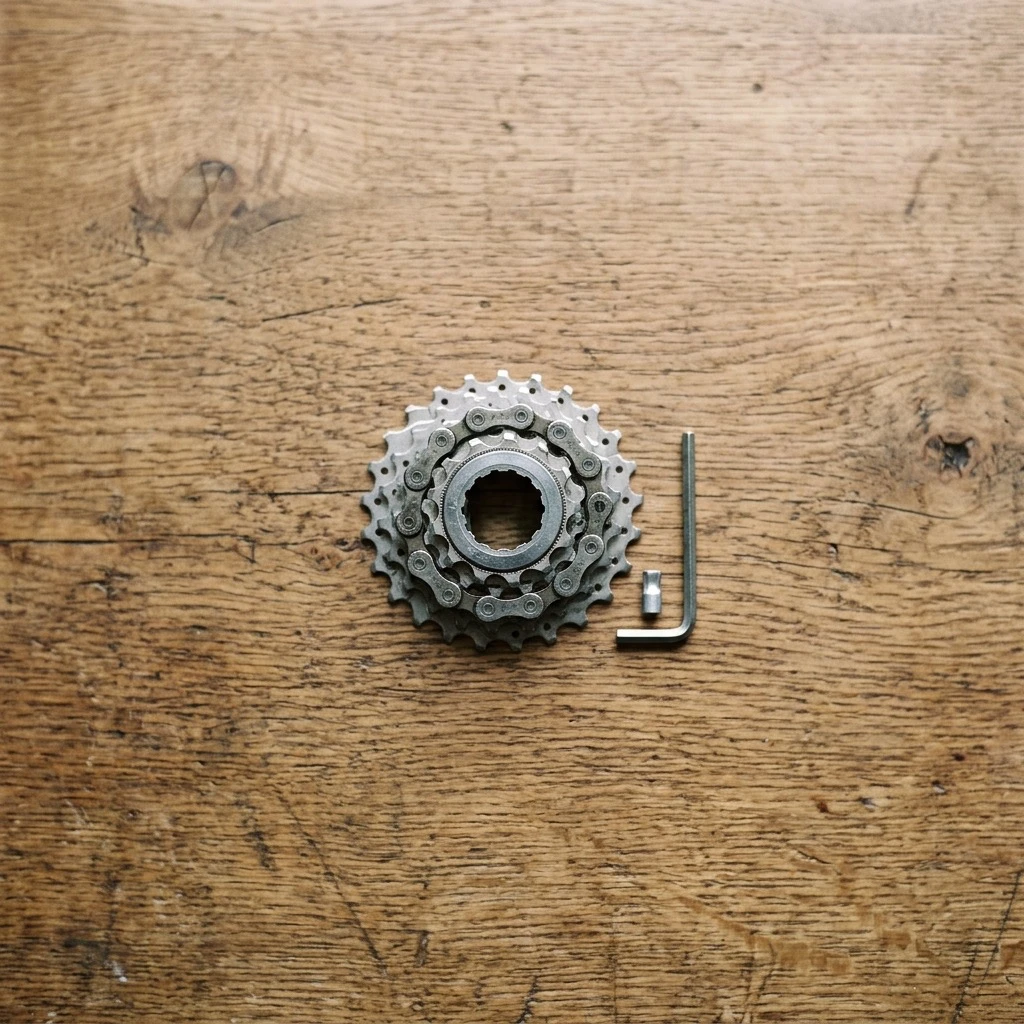
Before You Adjust: Hanger, Cable and Wear
Start with a visual check of the derailleur hanger. Park Tool says that if it is clearly bent, your adjustments are not going to work. If you suspect a bend, our guide to the derailleur hanger explains why that small part matters so much.
Then look at the cable. BikeRadar says the cable ends should not be frayed and the outer housing should not have cracks or splits, and that it is best to replace cables once a year or so. It also says to check that the derailleur mounting bolts, crankset and cassette are fastened to the manufacturer's recommended torque.
Finally, check for play. BikeRadar says derailleurs can develop play or slop in the pivots or linkages over time, and suggests holding the derailleur cage to check for excessive lateral movement. It also says the ratchet inside a shifter can wear, and that a vague or dead shifting feel is often a sign of this.
You need a repair stand, a screwdriver and hex wrenches. A repair stand lets you turn the pedals while you work.
How to Adjust a Rear Derailleur: Step by Step
1. Set up the bike
If the bike has more than one chainring, Park Tool says to shift the front derailleur to the largest chainring, then shift the rear derailleur to the smallest cog. Even if you are already in the smallest cog, Park Tool says to keep clicking the rear shifter to make sure there are no clicks left in the mechanism.
2. Take the cable out of the equation
Park Tool says many people think the H-limit screw is set correctly, when it is really the cable pull stopping the derailleur. To rule the cable out, Park Tool says to turn the barrel adjuster clockwise another two turns, or until it is screwed in all the way, whichever comes first.
3. Set the H-limit screw
The H-limit screw sets where the chain stops at the smallest cog. If the screws are unmarked, Park Tool says to turn one in and out while watching the derailleur: the H screw is the one that moves it.
Park Tool's method is to make the setting too tight first, then back out the H-limit screw until the chain sits directly below the smallest cog. From there:
- Tighten the screw one half turn and listen for excessive noise while pedaling.
- Keep tightening until you hear the chain rubbing on the next cog.
- Back the screw out one quarter turn at a time until the noise stops.
- If two settings seem equally quiet, Park Tool says to go with the tighter one.
Then turn the barrel adjuster counter-clockwise a couple of turns, to bring it back roughly to where it was.
4. Set the indexing with the barrel adjuster
Indexing lines up the guide pulley with the cogs so that each click of the shifter moves the chain one cog. Park Tool says there is a range of acceptable adjustment, so more than one barrel adjuster position may shift well.
- Start on the smallest cog, with the front derailleur on its largest chainring (or the middle one on a triple).
- Pedal at a normal cadence and click the shifter once. One click should move the chain one cog.
- If the chain does not reach the next cog, Park Tool says to return the shift lever to the outermost click and turn the barrel adjuster one full turn counter-clockwise, then try again.
- If one click moves the chain two cogs, Park Tool says to shift back to the first cog and turn the barrel adjuster clockwise one turn.
- Check each cog in turn. If you hear noise in any cog, Park Tool says to turn the barrel adjuster clockwise one quarter turn and test again.
If the barrel adjuster has come out, or nearly come out, Park Tool says to thread it back in fully and then out one or two turns. Then, with the chain on the smallest cog and the shifter at its outermost click, remove the slack from the cable at the pinch bolt.
BikeRadar says to wind the barrel adjuster in or out by only a quarter turn each time before re-checking. If you have had to wind the barrel adjuster out a lot, BikeRadar says it is worth undoing the cable mounting bolt, pulling more cable through and starting again.
5. Set the L-limit screw
The L-limit screw protects the spokes. Park Tool makes it too tight first, then loosens it. Shift to the second largest cog, then try the shift to the largest cog. Park Tool says that if the chain does not make the shift, shifts slowly, or is noisy on the largest cog, the screw is too tight. Once the too-tight screw is causing symptoms, turn it out one quarter turn at a time until the symptoms go away.
As a check, Park Tool says to put extra pressure on the shifter and watch the derailleur. The cage should not move inward.
6. Check the B-screw gap
The B-screw, or body-angle screw, sets the spacing between the guide pulley and the cogs. Park Tool says to check it with the chain on the smallest chainring and the largest cog, and that the majority of road and mountain bike derailleurs require a gap between 5 and 6 millimeters. A hex wrench can gauge the distance. BikeRadar gives the same range and says a 5 or 6mm hex key works as a guide.
To widen the gap, Park Tool says to tighten the B screw. To narrow it, loosen the screw. Park Tool adds that if the bike is shifting well, the B screw is probably already in the acceptable range, and that if you make significant changes to it you should double check the indexing.
How to Adjust a Front Derailleur
Some bikes have a single chainring and no front derailleur. If yours has one, the job is a little different. Park Tool says a properly adjusted front derailleur should shift the chain between the chainrings without throwing it off, and lists four adjustments: height, rotation, limit screws and inner wire tension.
Two of those are easy to check by eye. Park Tool says the gap between the outer chainring teeth and the lower edge of the outer cage plate should be 1 to 2mm, and that the cage should be approximately parallel to the chain. BikeRadar adds that front derailleur cables typically need more tension than a rear derailleur does.
Park Tool says to check the derailleur positioning before you check the limit screws. Follow Park Tool's front derailleur article or your manual for the full order, rather than adjusting from memory.
When Shifting Problems Are Really Worn Parts
An adjusted derailleur cannot fix a worn drivetrain. BikeRadar's troubleshooting list points a chain that slips, jumps or misbehaves at chain wear, and says that depending on how worn it is, you may need to replace the cassette and chainrings as well.
If the chain skips under load even after the indexing is right, measure the chain before you touch the screws again. Our guides to when to replace a bike chain and measuring chain stretch cover the wear limits, and how long a cassette lasts and cassette lifespan cover the other half. If the chain is worn, replace the chain first. Dirty parts also shift badly, so clean the chain before you start.
A bent hanger looks like a limit screw problem. BikeRadar says that if the chain will not run to the bottom of the cassette, or goes over the big cog into the spokes, even though the gears are properly indexed, it sounds like a bent hanger that needs straightening or replacing. It says a crash is the likely cause.
When to Take It to a Shop
Take the bike to a mechanic in these cases (this is our general advice, not a figure from any maker):
- The hanger is bent and you do not have the tools or the experience to straighten it.
- The derailleur has visible play in its pivots, or the shifter feels vague or dead after you replace the cable.
- You have worked through the steps and the chain still skips, drops off or rubs, and the chain and cassette are not worn.
Frequently Asked Questions
How do you adjust a derailleur? Check the hanger and cable, set the H-limit screw, set the indexing with the barrel adjuster, set the L-limit screw, and check the B-screw gap. This follows Park Tool's rear derailleur procedure.
How do you adjust a rear derailleur that will not shift into the next gear? Park Tool says to return the shifter to its outermost click and turn the barrel adjuster one full turn counter-clockwise, then try the shift again. BikeRadar says to increase the cable tension by turning the barrel adjuster counter-clockwise, and to keep turning the cranks until it shifts.
How do you adjust a front derailleur? Check the height and rotation first, then set the limit screws and the cable tension. Park Tool says to repeat the height adjustment until the cage plate is 1-2mm above the outer chainring.
Why is my derailleur not shifting even after adjustment? The usual causes are a bent hanger, old or dirty cables, or a worn chain and cassette. BikeRadar lists limit screws and the hanger as causes of a chain that drops off the cassette, and chain wear as a cause of slipping and jumping.
What gap should the B-screw set? Park Tool says the majority of road and mountain bike derailleurs require a gap between 5 and 6 millimeters. Follow the manual for your derailleur, because the right gap depends on the model.
How Componentry Helps You Keep Your Drivetrain Shifting
A well-adjusted derailleur still needs a chain and cassette that are not worn out. Componentry syncs your rides from Strava, Garmin and Wahoo and adds the distance to the components on the bike you rode, so the chain and cassette each have their own running total.
You can add a reminder to a bike or a component, by distance or by time, and log a service on a component when you do the work. Each component keeps its own history, so when shifting gets worse you can see what the last service was and how far the parts have gone since.
For the rest of the routine, see the bike tune-up checklist, the quick maintenance check, and basic bike maintenance at home.
Recommended Resources & Further Reading
Technical Data:
Componentry Reading: