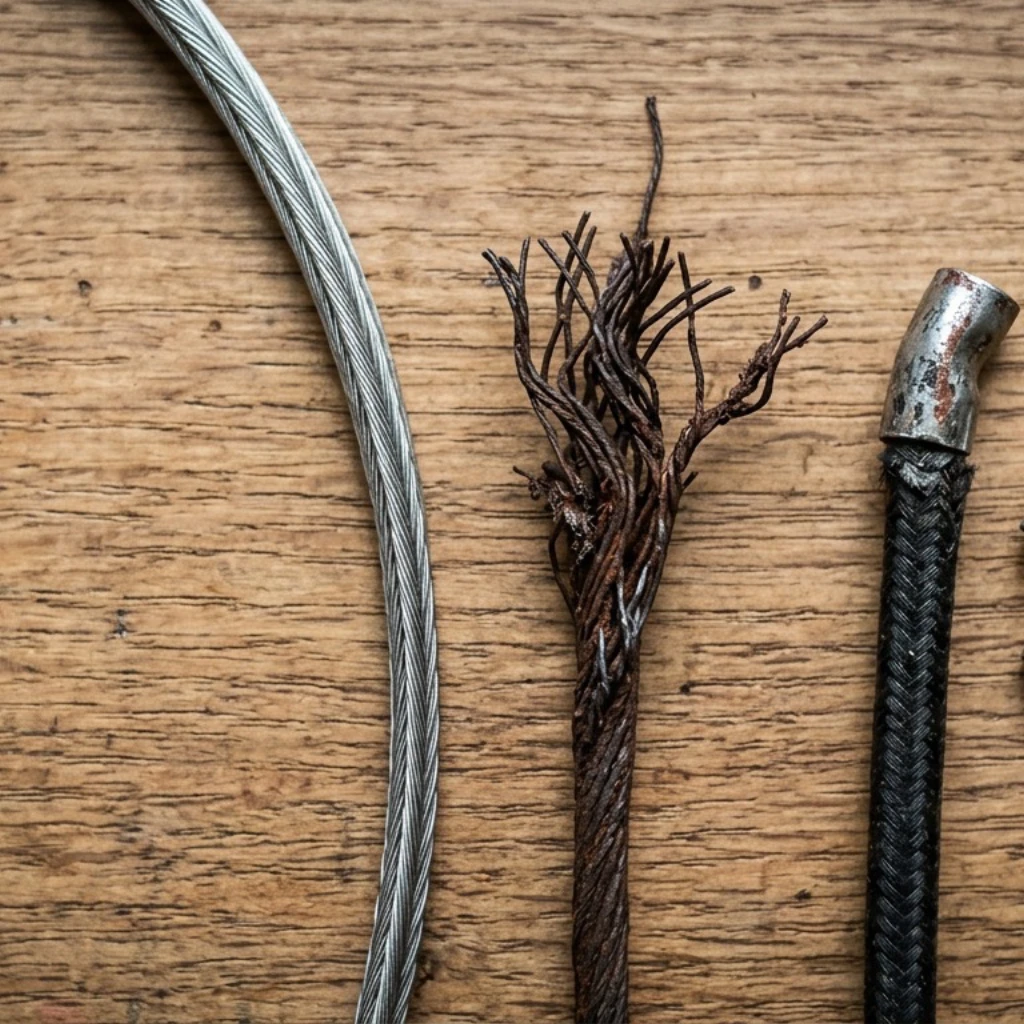
Bike Cable Replacement: Replace Cable and Housing Together?
Park Tool's advice is to do both jobs in the same session. Its drop-bar guide says that when you replace shift cables it can be a good idea to replace the housing too, because the cable is already out and "this would be the time to do it."
The reason is friction. The inner cable runs inside the housing, and dirt and grit can work their way into the housing. The housing is then the part causing the drag, and a new cable in old housing will not fix it. For that case Park Tool says "replacement of the housing and the cable is the best option."
How to Tell If Your Cables Are Causing Drag
You can test the cable run in a few minutes, without new parts. This follows the steps in Park Tool's rear derailleur troubleshooting guide:
- Loosen the cable pinch bolt at the derailleur, so you can feel how the cable is operating.
- With the cable free from the housing, slide the housing back and forth and feel how freely it moves.
- Wipe the cable and add a little lube.
- Put the housing back and check whether shifting improves.
If the cable or housing feels gritty, sticky or bent at the ends, that is your answer. If lubing the cable fixes the shifting, the system was dirty rather than worn out, and you have bought some time. If it does not, fit new cable and housing.
Rim and cable-actuated brakes follow the same logic. Park Tool's upright-bar brake guide does not give a replacement trigger, but it does say that light lubricant inside the liner "will help displace any water that might enter." Chain lube is its suggested choice.
Drop Bars, Bar Tape and Why This Job Gets Skipped
On a drop-bar bike the housing is often routed underneath the bar tape. Park Tool notes that the process "can be a bit more involved" for that reason. In practice it means cable replacement turns into a bar-tape job too.
That is one reason cables get put off. A practical approach is to schedule the cable and housing swap for the same day as a bar-tape replacement. The tape is off anyway, so the only extra cost is the cable set. Our handlebar tape replacement guide covers the wrapping side.
What Integrated Cockpits Change
Fully integrated cockpits route brake lines and shift cables through the bars, stem and headset. The routing is tidy, but every job on the cables gets harder.
TOUR Magazin's July 2026 piece on integrated cockpits sets out what that means in the workshop:
- Changing the handlebar or stem means removing the cables, and they may need rerouting.
- Shortening the steerer can mean cutting the internal cables to length again, or they kink in the frame.
- After rerouting, the brake system must be topped up, bled thoroughly and adjusted. The article calls this safety-critical.
- The brake lines run through the middle of the headset bearing, so the whole brake system has to be taken apart first. A job that takes about 15 minutes on a conventional bike can take two hours or more.
- A bearing replacement can cost 200 to 400 euros at a workshop, against about 15 euros for the part.
The same article puts the aero gain of full integration at roughly 2 to 3 watts on a road bike and calls it negligible on a mountain bike, and suggests semi-integration as the compromise. Whether that trade suits you is a personal call. What matters for maintenance is that the labour sits in access, not in the cable.
Replacing Internally Routed Housing
For mountain bikes with full-length housing running inside the frame, Singletracks describes the least painful method:
- Leave the old housing in the frame and pull out only the inner cable.
- Attach a barb connector, or the threaded end of a Park Tool IR-1.2 kit, to the old housing.
- Cut the new housing to length, attach it to the other end of the connector and pull it through gently.
- Cut the new housing a little long, to allow for damage at the ends.
Singletracks warns that pulling too hard can make the middle of the housing come loose and fall into the frame. If this method fails, the article lists fallbacks such as a magnet, a spoke bent into a J shape, or string with compressed air.
Hydraulic Brakes Are a Different Job
Hydraulic brake hoses are not cables, and they do not rust the way a steel inner cable does. Their service is about fluid and bleeding. If your bike has hydraulic discs, our hydraulic fluid lifecycle guide covers the interval side, and our brake pad guide covers the pads.
How Componentry Helps You Track Cable Replacement
Cables have no distance signal. There is no wear gauge for a cable and no sensor that reports rust, so no app can measure it from your rides. Componentry takes a different route for components like this. Chain wear, cassette wear and brake pad life update from your Strava, Garmin or Wahoo rides without manual logging. For cables and housing, you log the date you fitted them and set a reminder.
A reminder works for two reasons. It turns "sometime last year" into a date you can check, and it brings the job up alongside other work. Pair it with your bar tape or a drivetrain service, and the cable swap happens while the bike is already apart. Add the date, and when your shifting starts to drag you can see how long that cable run has been in service.
Recommended Resources and Further Reading
Technical Reference:
Componentry Reading: